Getting Started
Welcome to Labitat, a modern, self-hosted homelab dashboard designed for speed, security, and a beautiful user experience.
Installation in 60 Seconds
The fastest way to get Labitat running is via Docker. No manual configuration is required for the first run—everything is handled by the built-in setup wizard.
1. Run with Docker
docker run -d \
  --name labitat \
  --restart unless-stopped \
  -p 3000:3000 \
  -v labitat_data:/app/data \
ghcr.io/doomedramen/labitat:latestPersistent Data
The -v labitat_data:/app/data flag ensures your settings, dashboard layout, and service credentials persist across container restarts and updates.
2. Access the Dashboard
Visit http://localhost:3000 in your browser. You will be automatically redirected to the Setup Wizard.
3. Create Admin Account
Follow the on-screen instructions to create your primary administrator account. Labitat uses local authentication by default, keeping your data private and secure.
What's Next?
Once you're logged in, you can start building your perfect dashboard:
- Installation Guide — Detailed guides for Docker Compose, manual, and native installs.
- Configuration — Learn about environment variables and security settings.
- Adding Services — Connect your favorite services like Plex, Radarr, and Home Assistant.
- Development — Interested in contributing? See our architecture overview.
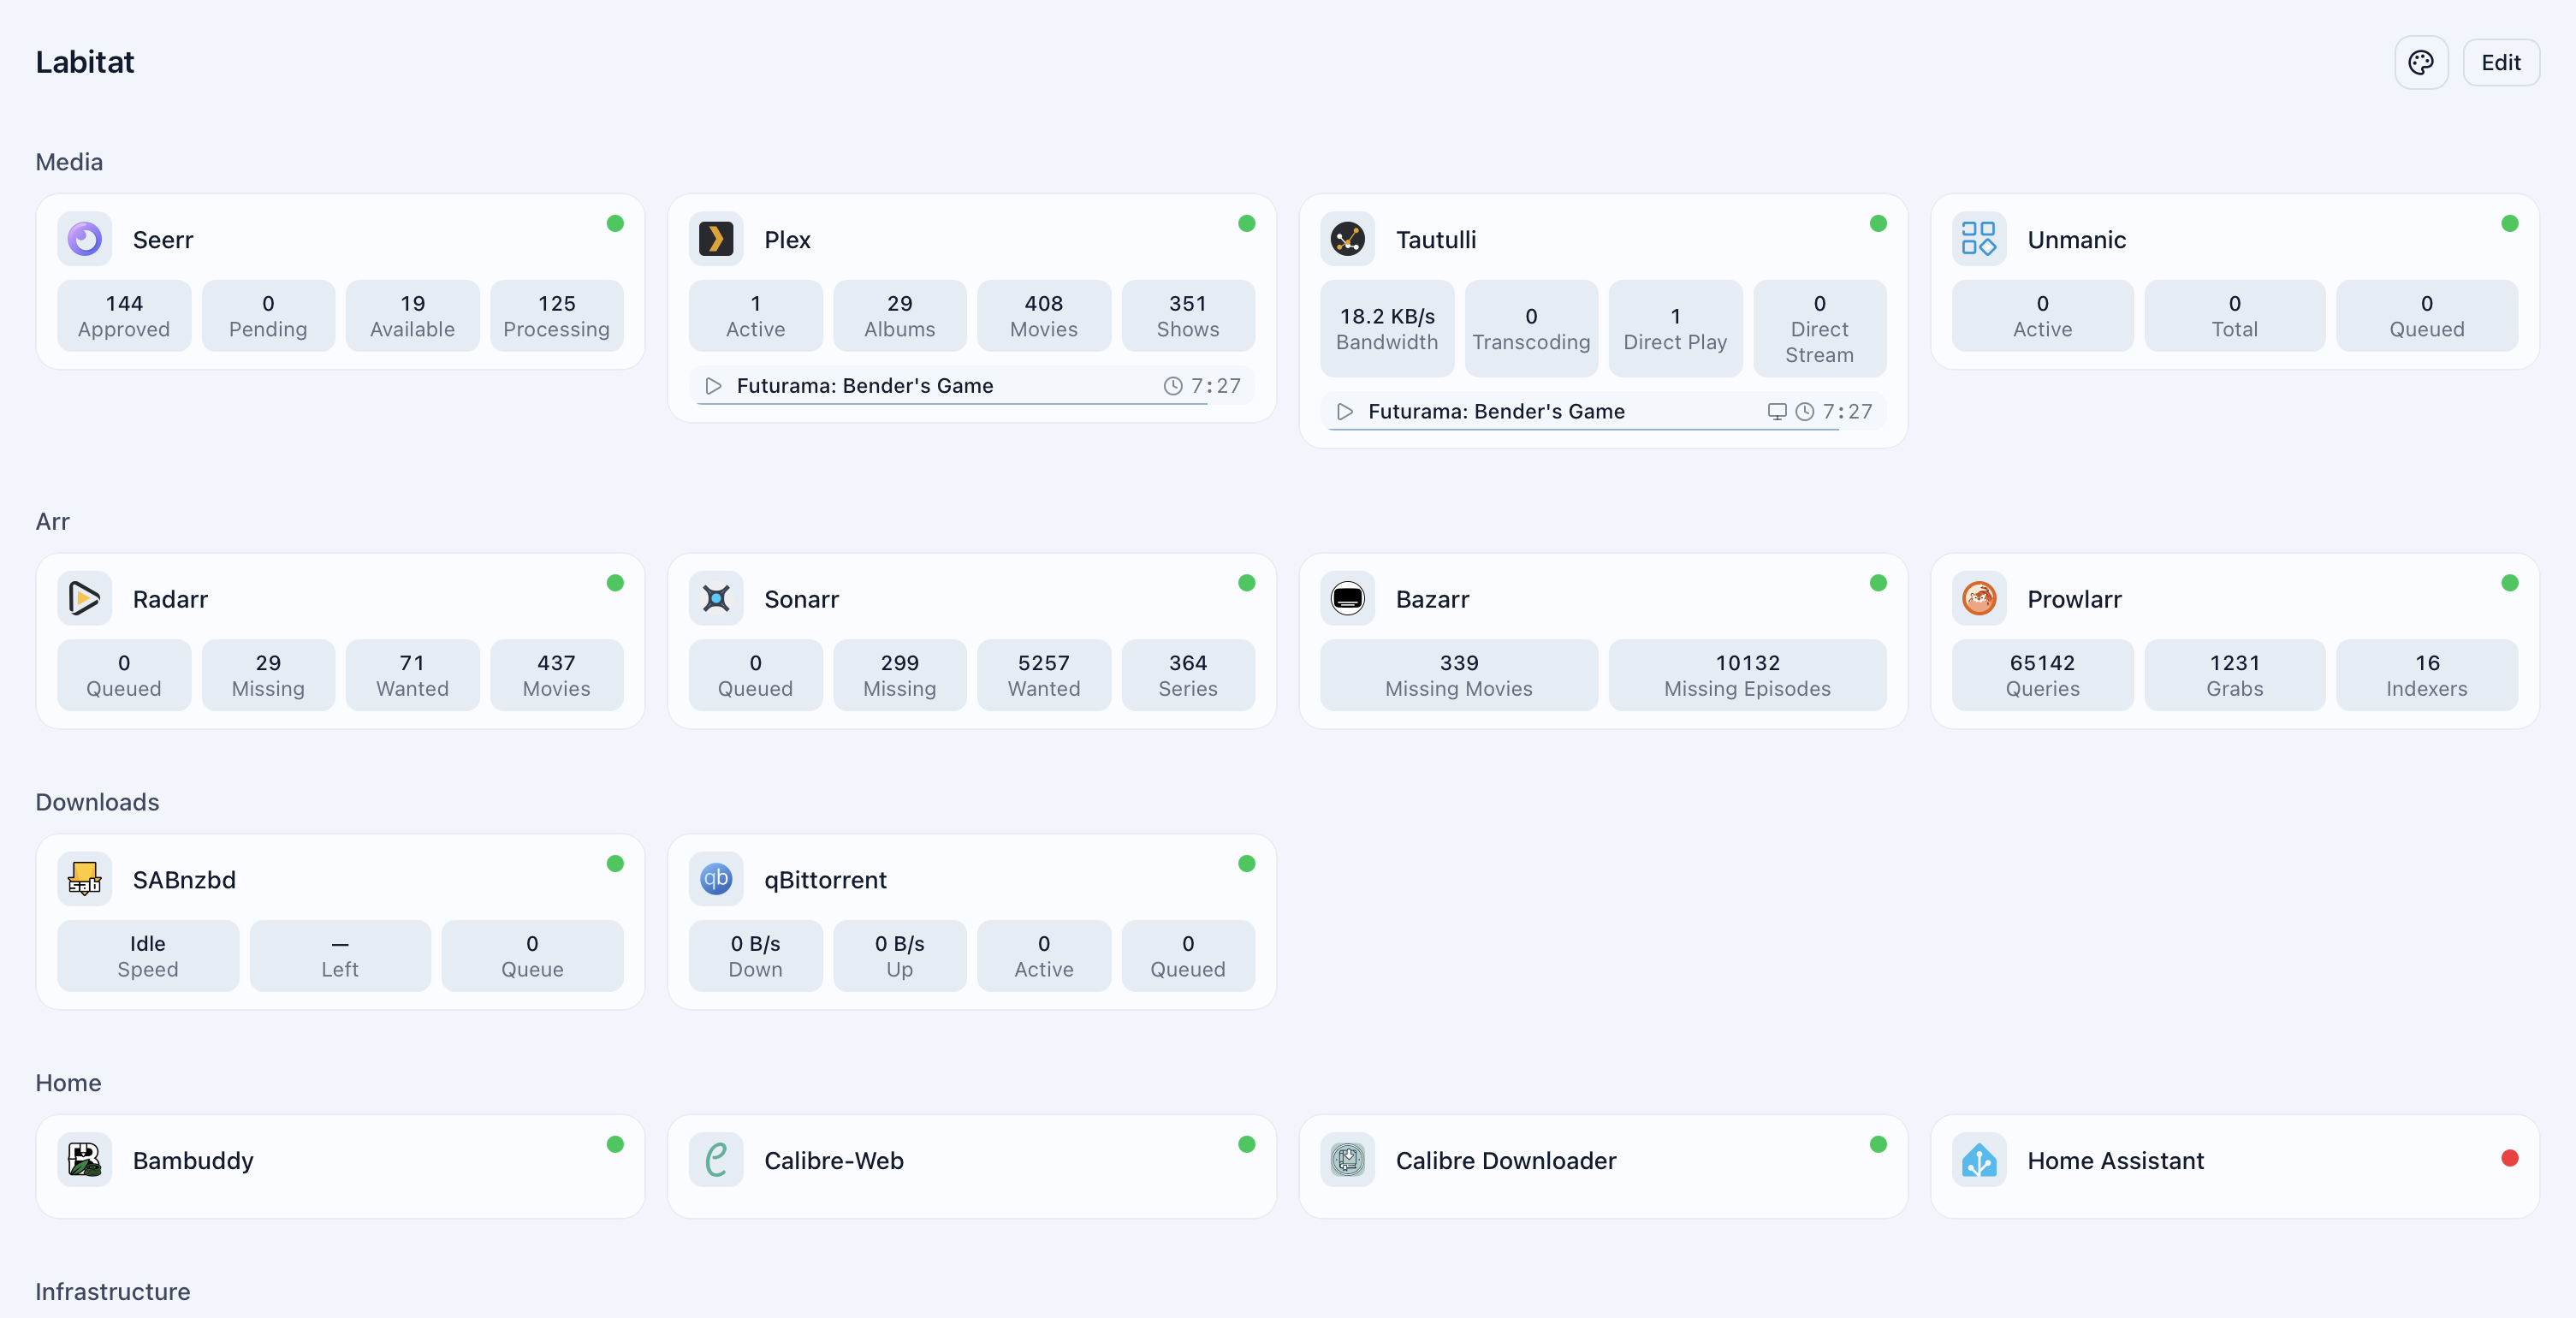
Quick Look
Dashboard Overview
Monitor all your services from a single, unified interface. Widgets update in real-time.
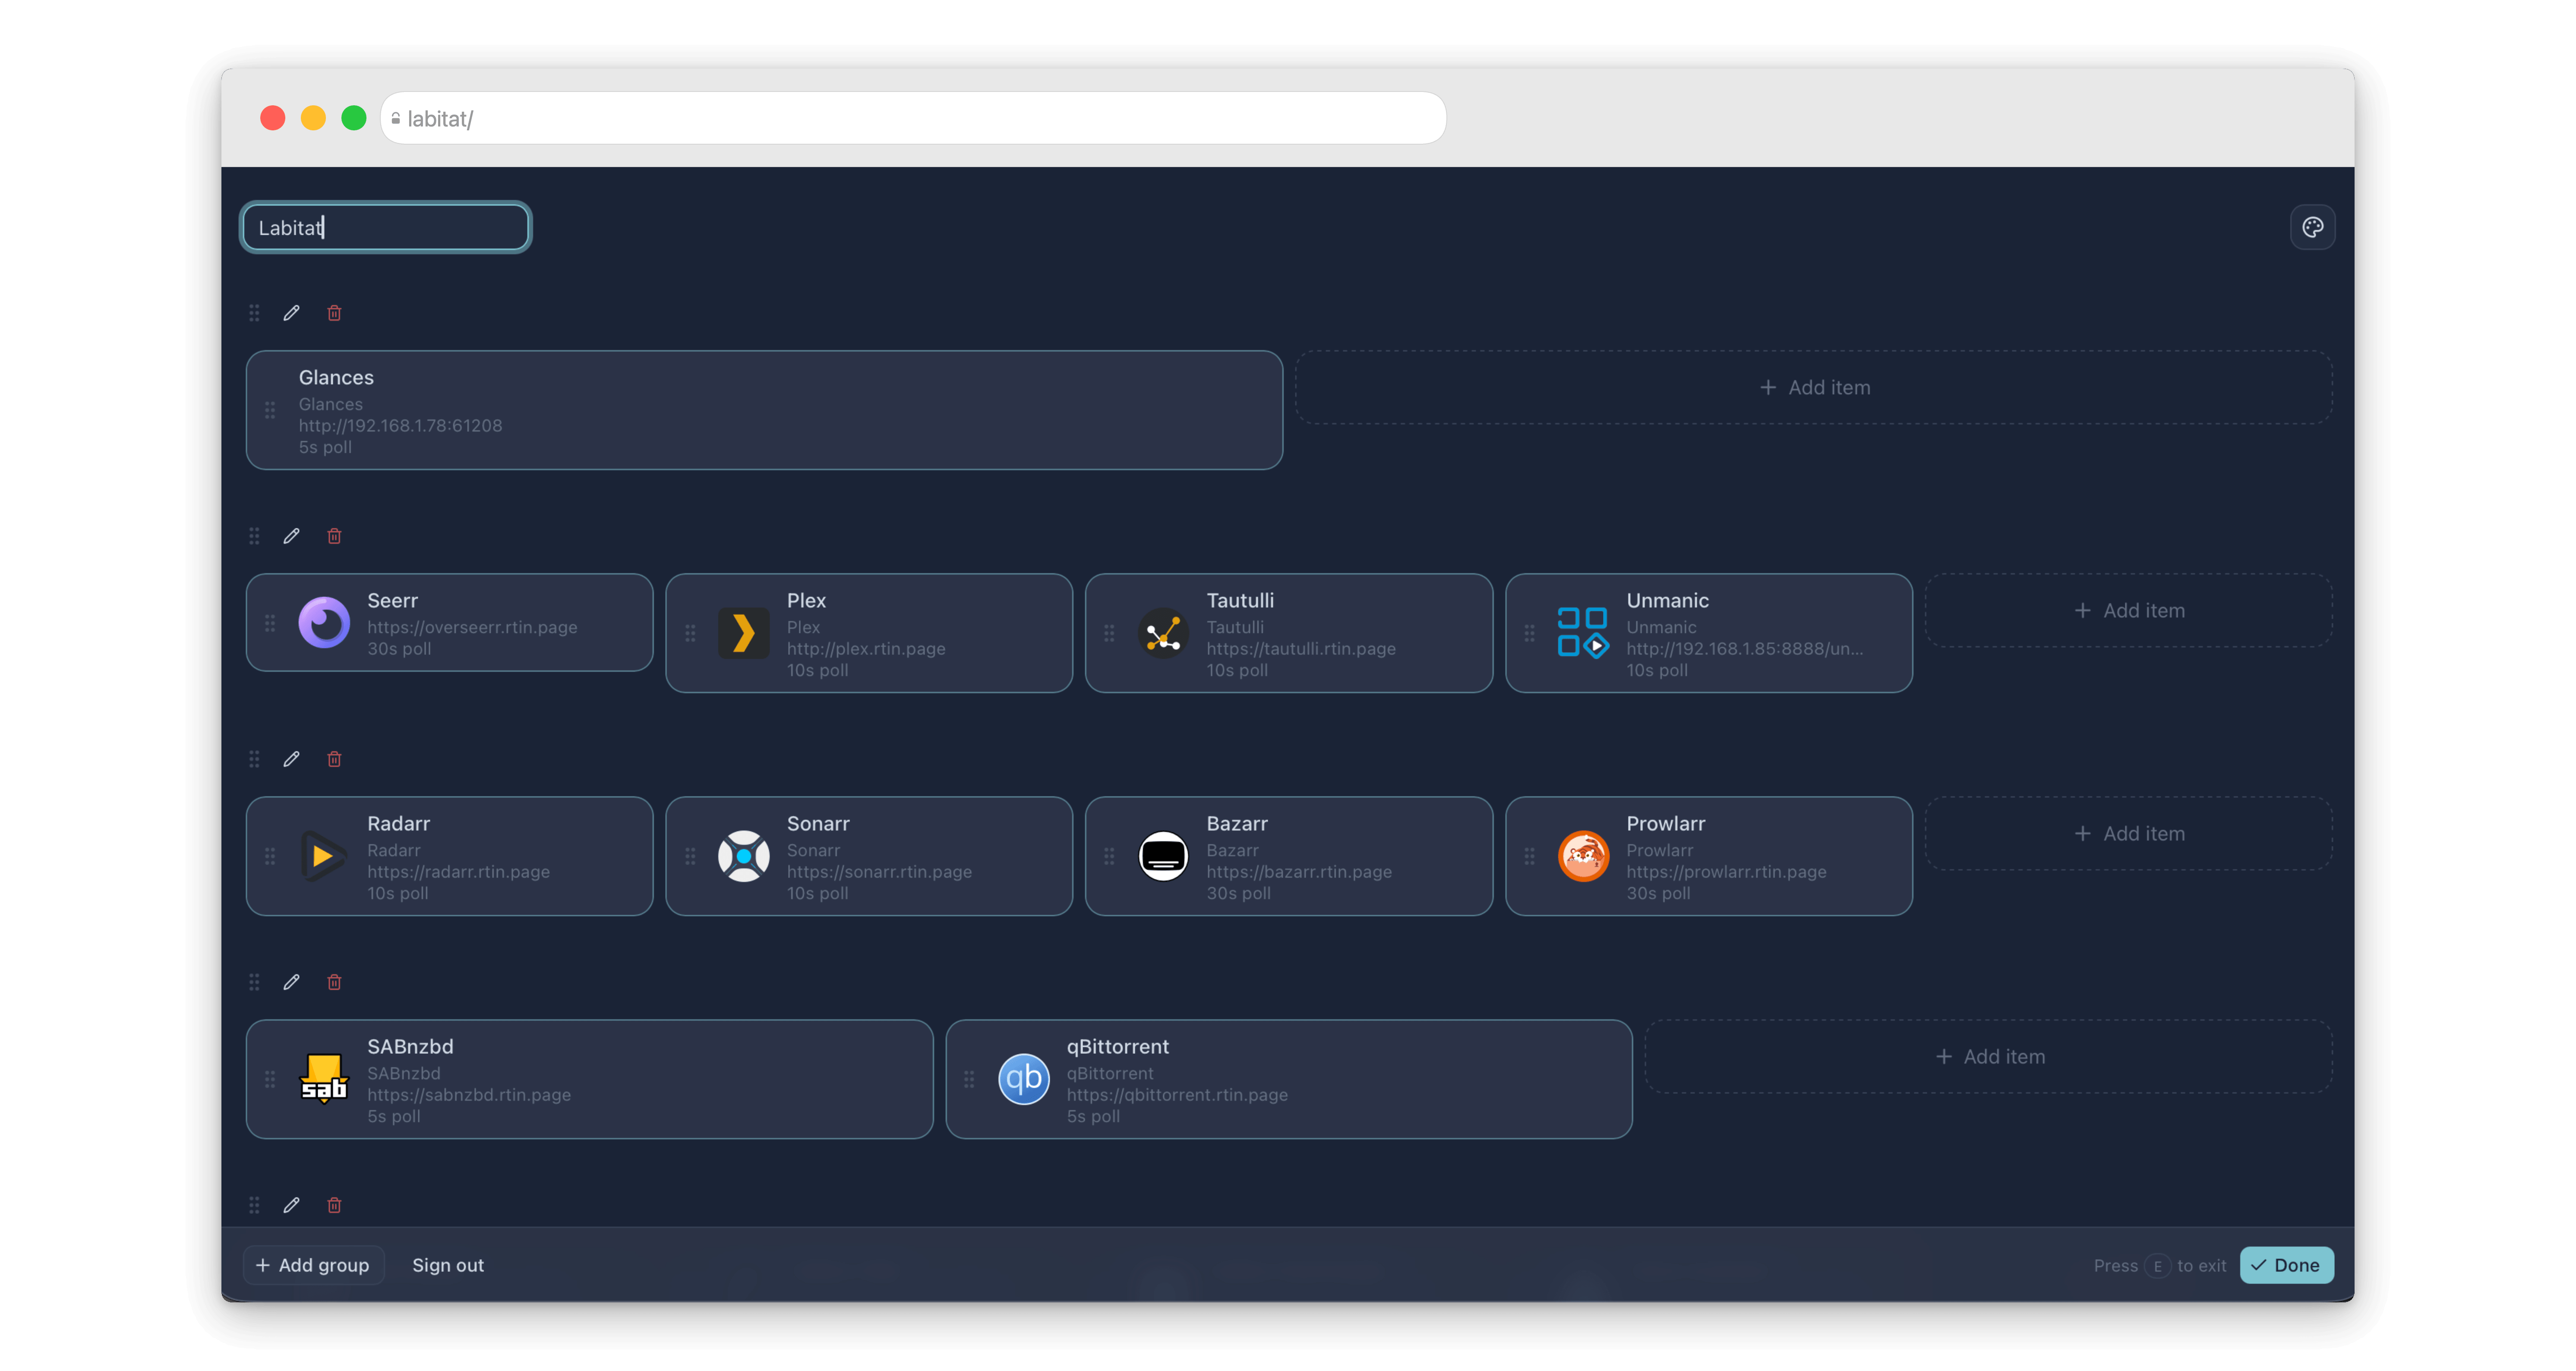
Edit Mode
Enter Edit Mode to rearrange your dashboard. Use drag-and-drop to organize services into groups that make sense for your workflow.
Need Help?
If you run into issues, check our Troubleshooting guide or open an issue on GitHub.